Central Line Placement: A Step-by-Step Guide for New Clinicians
 Jason Hine
10 min read
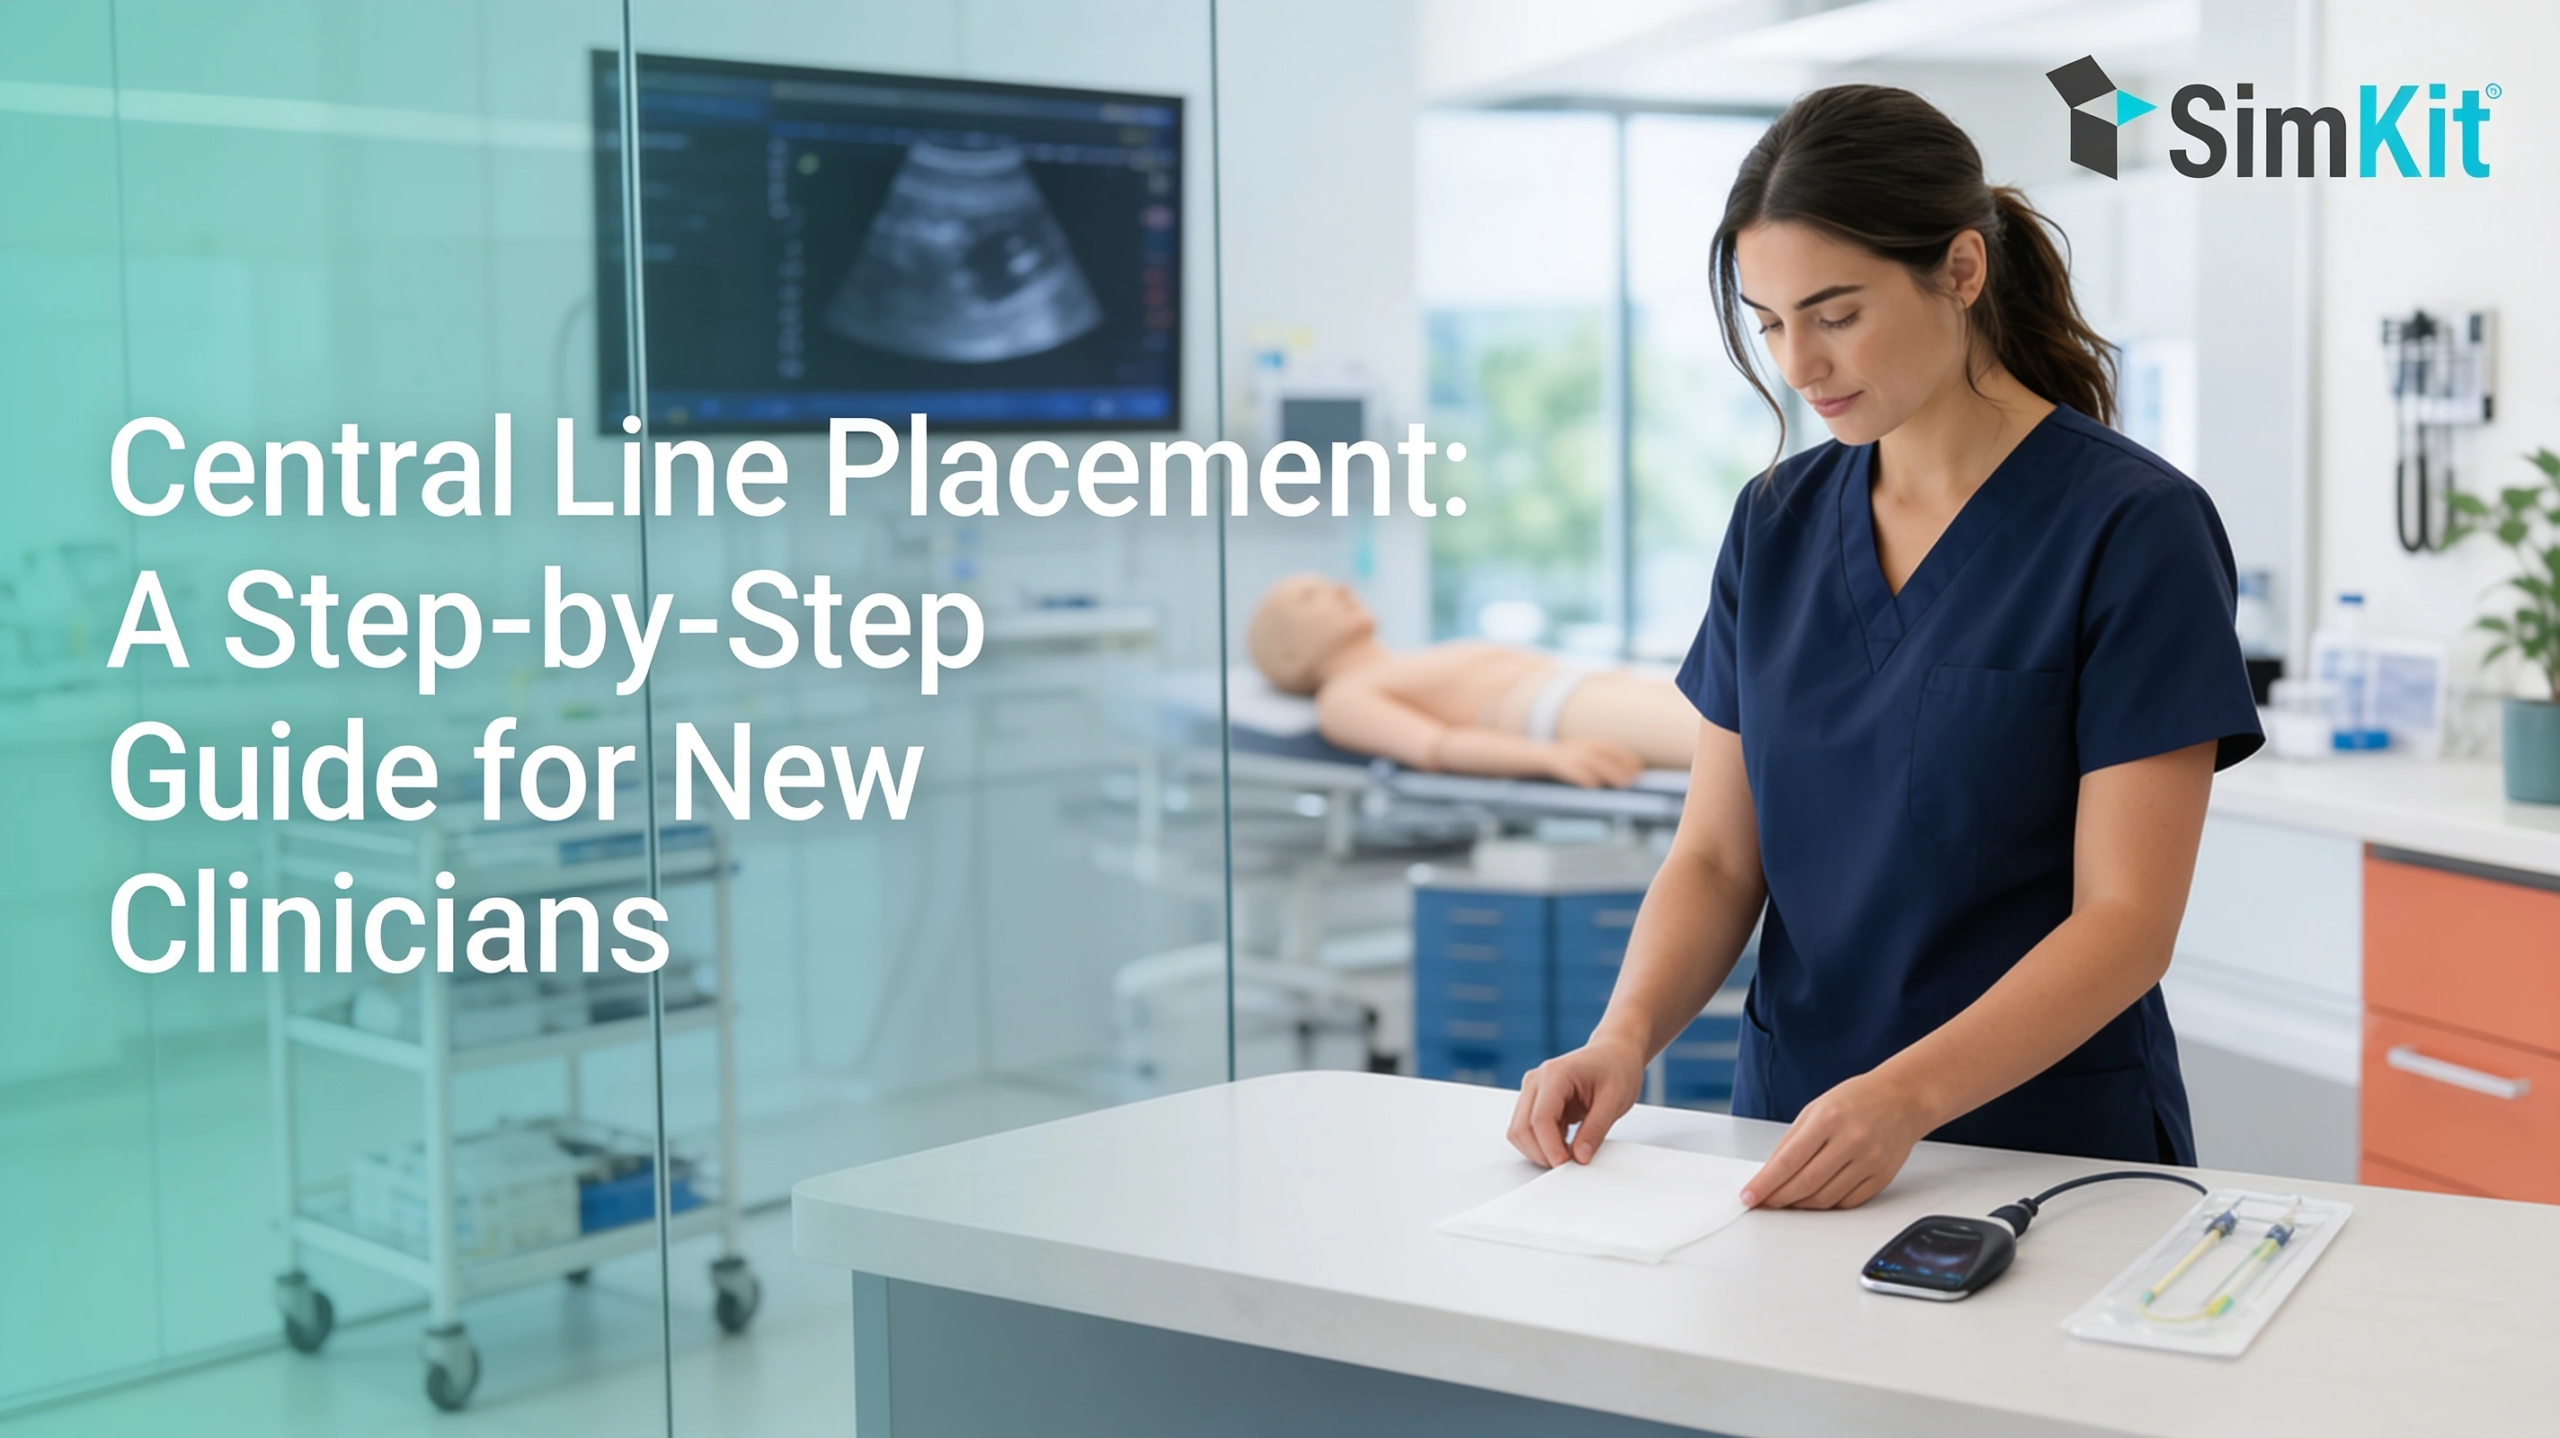
Central line placement is one of the first high-stakes procedures many residents and medical students learn. It is also one of the easiest to get rusty at. This guide walks through the procedure step by step, from picking the vein to preventing complications.
The goal is simple. By the time you meet a real patient who needs a line, you want the sequence to feel familiar instead of frightening.
What Is Central Line Placement?
Central line placement is the insertion of a thin catheter into a large central vein, so its tip rests near the heart. The tip usually lands where the superior vena cava meets the right atrium. Clinicians access one of three veins: the internal jugular, the subclavian, or the femoral.
You will also see the same device called a central venous catheter (CVC) or a central venous line (CVL). These terms all describe the same thing.
A central line does what a peripheral IV cannot. It stays in place for days or longer, and it can deliver medicines and fluid volumes that a small arm vein would not tolerate.
Because the tip sits so close to the heart, small errors carry real consequences. That is why the procedure rewards deliberate rehearsal, and it is worth understanding how deliberate practice works before you scrub in.
Central Line vs PICC and Other Line Types
“Central line” is a broad category that covers several devices. The four types below differ mainly in where they enter the body and how long they are meant to stay.
| Line type | Where it goes | Typical duration |
|---|---|---|
| Nontunneled CVC | Neck, chest, or groin vein, straight into a central vein | Days |
| PICC | Arm vein, threaded up to a central vein | Weeks to months |
| Tunneled catheter | Chest, tunneled under the skin before entering the vein | Weeks or longer |
| Implanted port | Fully under the skin, accessed with a needle | Months to years |
The takeaway for a new clinician is that a PICC line is a central line. It enters through an arm vein but ends in the same central position, near the heart. The rest of this guide focuses on the nontunneled lines you place most often in acute care.
Why and When a Central Line Is Placed
Most patients do fine with a peripheral IV, so the decision to place a central line means a peripheral line cannot do the job. You reach for a central line when the drug or the access problem outstrips what a small vein can handle.
Common indications include:
- Giving vasopressors and other drugs that damage small veins
- Monitoring hemodynamics, including central venous pressure
- Poor or failed peripheral IV access
- Hemodialysis or plasmapheresis
- Total parenteral nutrition (TPN)
- Chemotherapy and other vein-irritating infusions
- Mass transfusion during resuscitation
- Transvenous procedures, such as placing a temporary pacing wire
The through-line across all of these is capacity and tolerance. A central vein handles caustic drugs and high flow that would injure a peripheral vessel. That capacity is the real reason to accept the added risk of a line.
Choosing the Access Site: IJ, Subclavian, or Femoral
Once you decide to place a line, the next choice is where. Each of the three temporary-access sites trades one advantage for a different risk.
| Site | Advantages | Tradeoffs |
|---|---|---|
| Internal jugular (IJ) | Reliable anatomy and a clear ultrasound view | Sits next to the carotid artery |
| Subclavian | Lowest infection and thrombosis rates | Highest pneumothorax risk; vessel is not compressible |
| Femoral | Compressible and avoids pneumothorax risk | Higher infection and thrombosis risk |
The right internal jugular is a common default because the vein is large and easy to see with ultrasound. The other two sites still earn their place depending on the patient in front of you.
The best evidence on this tradeoff comes from a landmark insertion-site trial in adult ICU patients (Parienti et al., NEJM 2015). Researchers recorded 8, 20, and 22 primary complication events in the subclavian, jugular, and femoral groups. That worked out to 1.5, 3.6, and 4.6 events per 1,000 catheter-days (P=0.02).
Read that with its scope in mind. These are ICU numbers from a French multicenter study. They guide site selection more than they dictate the choice for a crashing patient in the resuscitation bay.
Why Ultrasound Guidance Is Now Standard
Site selection sets you up, and ultrasound is what gets the needle where you intend. For IJ lines, real-time ultrasound is now the standard of care rather than an optional add-on.
You confirm the vein by pressing with the probe: a vein compresses, while an artery pulses back. A high-frequency linear probe gives the clearest view of these shallow vessels.
Most clinicians start in the short-axis view, which shows the vein in cross-section. They then switch to the long-axis view to watch the needle tip advance. Seeing the needle the whole way keeps you out of the artery and the lung.
A Cochrane review found that ultrasound cuts complications 71% for IJ insertion versus the older landmark technique. The relative risk was 0.29 (95% CI 0.17 to 0.52). That skill is built by repetition, because steering the needle while reading the screen becomes natural only after many reps.
Contraindications and Preparation
Before any of this, pause to confirm the line is safe to place here and now. A few situations should stop you or make you change the plan.
Absolute contraindications include active skin infection over the site, distorted anatomy, and known vascular injury at the target vessel. Relative contraindications include coagulopathy, thrombocytopenia, and a patient who cannot hold still enough for safe cannulation.
With the site cleared, preparation follows a set order. Obtain consent when the situation allows, then position the patient: Trendelenburg for IJ or subclavian lines to fill the vein, supine for a femoral line.
Set up a full sterile field, gown and glove, and lay out your kit so every piece is within reach. Finish with a time-out to confirm the patient, the site, and the plan before the needle touches skin.
Step-by-Step: The Seldinger Technique
The Seldinger technique places a catheter over a guidewire, and the sequence is the same regardless of site. Move through it in order:
- Confirm the vein with ultrasound and inject local anesthetic.
- Insert the needle under gentle negative pressure until you see a venous flash.
- Thread the guidewire through the needle, and never let go of the wire.
- Confirm the wire sits inside the vein lumen with ultrasound.
- Nick the skin and advance the dilator over the wire.
- Pass the catheter over the wire, then remove the wire.
- Aspirate and flush each port to confirm blood return and patency.
- Suture the catheter in place and apply a sterile occlusive dressing.
Two steps deserve extra attention. Watch for ectopy on the monitor, which warns you the wire has drifted into the right atrium and needs to be pulled back a little.
“Never let go of the guidewire” is the pearl every attending repeats, because a wire lost into the vein becomes an emergency. That habit is muscle memory, and it comes from doing the motion enough times that your hand holds the wire without being told. If the sequence still feels abstract, the Year 2 central line course rehearses central venous catheterization on a model so the order becomes automatic.
Confirming Correct Placement
Threading the catheter is not the end. You still have to prove the tip is where it belongs and that you did no harm getting there.
For IJ and subclavian lines, order a stat chest X-ray. It confirms the tip at the superior vena cava and right atrium junction and rules out a pneumothorax you may not see clinically yet.
Ultrasound can add quick confirmation at the bedside. Some clinicians also use manometry or a venous blood gas when arterial placement is a concern. Only start infusing through the line once placement is confirmed.
Complications and How to Prevent Them
Every step above exists to avoid a short list of complications. They fall into problems that happen during placement and problems that appear later.
Immediate complications include:
- Arterial puncture: the needle enters the neighboring artery instead of the vein.
- Pneumothorax: air enters the chest, most often during subclavian or IJ attempts.
- Arrhythmia: the guidewire irritates the right atrium and triggers ectopy.
- Hematoma or bleeding: more likely in a patient with coagulopathy.
- Air embolism: air enters an open catheter hub.
Delayed complications include:
- CLABSI: a central line-associated bloodstream infection seeded by the catheter.
- Thrombosis: a clot forms on or around the catheter.
- Central vein stenosis: the vein narrows after prolonged catheter contact.
CLABSI is the one that makes the stakes concrete. The CDC reports that CLABSIs cause thousands of deaths each year and add billions of dollars in cost to the U.S. healthcare system, even though they are preventable.
U.S. acute care and critical access hospitals reported 30,828 CLABSI cases in 2022 (Dix et al., Frontiers in Medicine, 2024). AHRQ estimates each hospital-acquired CLABSI adds roughly $48,000 per case (in 2015 dollars). Careful sterile technique and early line removal bring those numbers down.
Aftercare and When to Remove the Line
A well-placed line still needs daily attention to stay safe. Nursing care carries most of this load, but you should know what good care looks like.
Each day the site gets inspected for redness or drainage, hubs and ports are disinfected before access, and the sterile dressing is changed on schedule. Flushing keeps the lumens patent between uses.
The most important habit is asking one question on every round: does this patient still need the line? Complication risk climbs the longer a catheter stays in, so removing it the moment it is no longer needed is the cheapest prevention you have.
Building Confidence Before the Real Patient
Central line placement is a skill that fades when you do not use it, and residency does not space out procedures evenly. You might place four lines in a week on the ICU rotation, then none for three months.
That gap is the problem worth solving. Deliberate, spaced rehearsal on a model builds the muscle memory that takes over when a real patient is unstable and the room is loud.
This is the idea behind SimKit’s approach and its flagship procedural training course, which fights skill decay in about 30 minutes a month. The evidence that this kind of rehearsal transfers to real performance is worth reading directly in SimKit’s review of simulation and patient outcomes.
Central venous catheterization is one of four procedures in the Year 2 program. Each skill is revisited three times through spaced repetition, using a training box shipped to your door.
Residents and medical students can start with the discounted resident and student plan or browse the full set of hands-on training kits. Practice the line before the patient needs it, and your hands will already know the sequence.
Frequently Asked Questions
New clinicians tend to ask the same practical questions once they have watched a line go in. The short answers below cover the ones that come up most.
Each answer stands on its own, so you can scan straight to the one you need.
Is a PICC line the same as a central line?
A PICC is one type of central line, placed in an arm vein and threaded up to a central vein. The difference from other lines is the insertion site and the longer duration it can stay in.
How long can a central line stay in?
It depends on the type: nontunneled lines last days, PICCs and tunneled lines last weeks to months, and ports last months. Every line comes out as soon as it is no longer needed, because risk rises over time.
Why is ultrasound guidance standard for central line placement?
Ultrasound lets you see the vein and nearby structures in real time, which raises first-pass success and lowers mechanical complications.
What are the most common complications of central line placement?
During placement you worry about arterial puncture, pneumothorax, arrhythmia, and bleeding, while the main later complications are bloodstream infection (CLABSI) and thrombosis.
What follow-up care does a central line need?
A central line needs daily site checks, sterile dressing changes, hub disinfection, and flushing, plus a daily review of whether the line is still needed.